Detalles
Disk Drill can not only recover data from various devices, but also recover any type of deleted files in Windows quickly and easily, including Office documents, messages, and media files quickly and easily. Disk Drill for Windows is free data recovery software that restores deleted files from an HDD, USB drive or any kind of disk-based storage media with just a few clicks.
First, using this data recovery software for Windows 10, 8, 7, XP or Vista, you can recover deleted data from virtually any type of storage devices. The list of supported ones includes your computer's internal hard disk, external USB drives, SD and CF cards, other memory cards, digital cameras, solid state drives (SSD), flash drives, etc.
Second, this professional Windows data recovery solution can be used to restore any type of file that has been deleted or lost from your device. Disk Drill’s powerful and sophisticated scanning algorithms can identify and reconstruct hundreds of different kinds of file formats including all of the popular video, audio, photo and document formats.
How Windows Data Recovery Works:
Disk Drill provides free data recovery software for Windows 10 users as well as those using older versions of the operating system. It is an easy to use yet powerful tool that will assist both novice and experienced computer users in getting back lost files with just a few simple steps. Here's what you need to do.

STEP 1
Download and Install Disk Drill Data Recovery Software for Windows
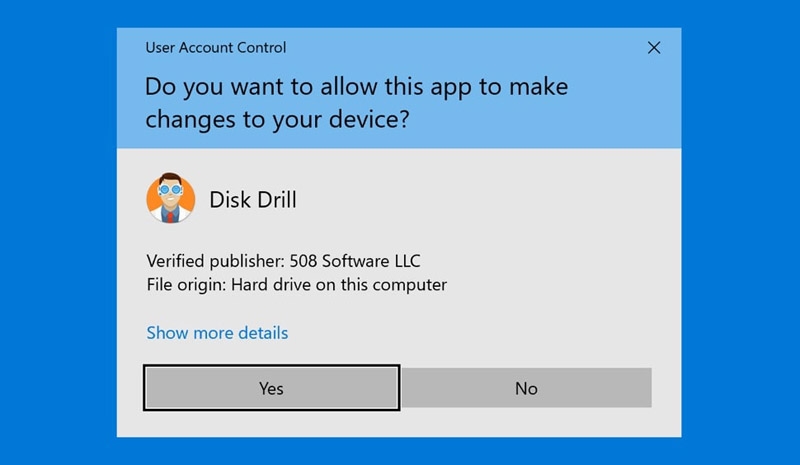
You can obtain Disk Drill with a free download. The software installs easily with just a click and you will have to provide it with your administrator’s credentials when prompted. The download entitles you to recover up to 500 MB of data for free as well as giving you permanent access to the extra data protection tools included with the application.

STEP 2
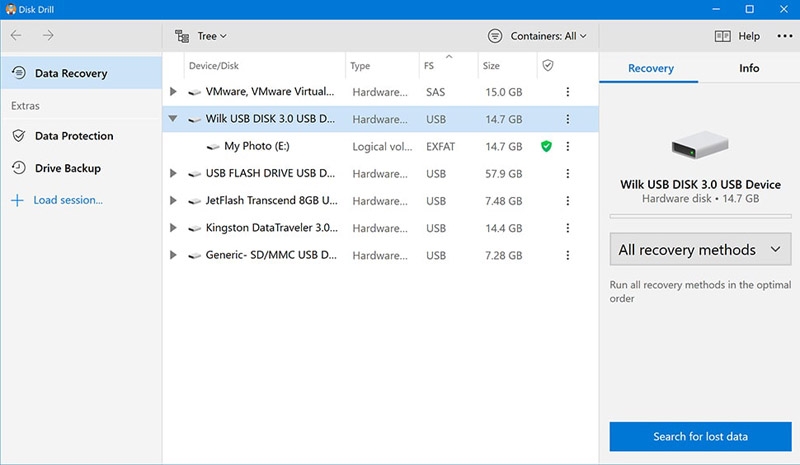
Choose the location and recovery method which you need
Select the disk or device that contained lost data from the list displayed in the application’s main window. You can also choose to use a specific recovery method with the drop-down menu in the bottom right of the screen. The default is to use all recovery methods, but depending on the particular recovery situation, you can choose other options such as a partition search or a deep scan. Scanning the whole drive using all recovery methods offers the most complete results and will find more data than when employing a more limited scan.

STEP 3
Start scanning for lost data
Once you have selected the location and recovery method, you are ready to begin the recovery process. Click the Search for lost data button to initiate the scanning algorithms and find your deleted files. The scanning step can take a variable amount of time based on the recovery method chosen, with deep scans taking longer but providing more extensive recovery capabilities.

STEP 4
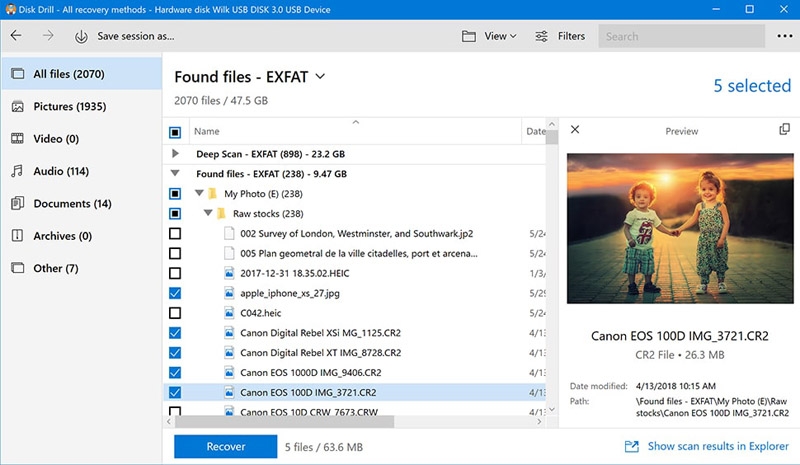
Select the files which you want to recover
As scanning proceeds, you will see a status bar showing its progress at the top of the app's window as well as the number of files found and their total size. You can pause the scan at any time if you wish. For the best results let the scan complete, but if you are pressed for time you can pause it and see which files have already been identified.

STEP 5
Recover the deleted data
Once you have made your selections regarding which files are to be recovered, click the Recover button. You will be presented with a window that allows you to choose a recovery location for the data. Do not use the same disk that contained the lost files because this can cause file corruption or data to be overwritten during recovery. Click OK once you have selected your recovery location.
Download: Disk Drill for 1 PC
-
 Very nice web review by Cobarro on 21/9/2022
My experience both times was great.
-
 Very easy to work with. review by kevin on 6/9/2022
I had no trouble placing my order and I received it promptly.
Escribir su Propia Revisión
Sólo usuarios registrados pueden escribir sus opiniones. Conéctese o regístrese
